God of War Sons of Sparta Gameplay: Combat and Tips
Explore God of War Sons of Sparta gameplay with tips for spear combat, gear, traversal, healing, and surviving the Pit of Agonies. Plan your next run now.
Jump to
What Does Sons of Sparta Play Like?
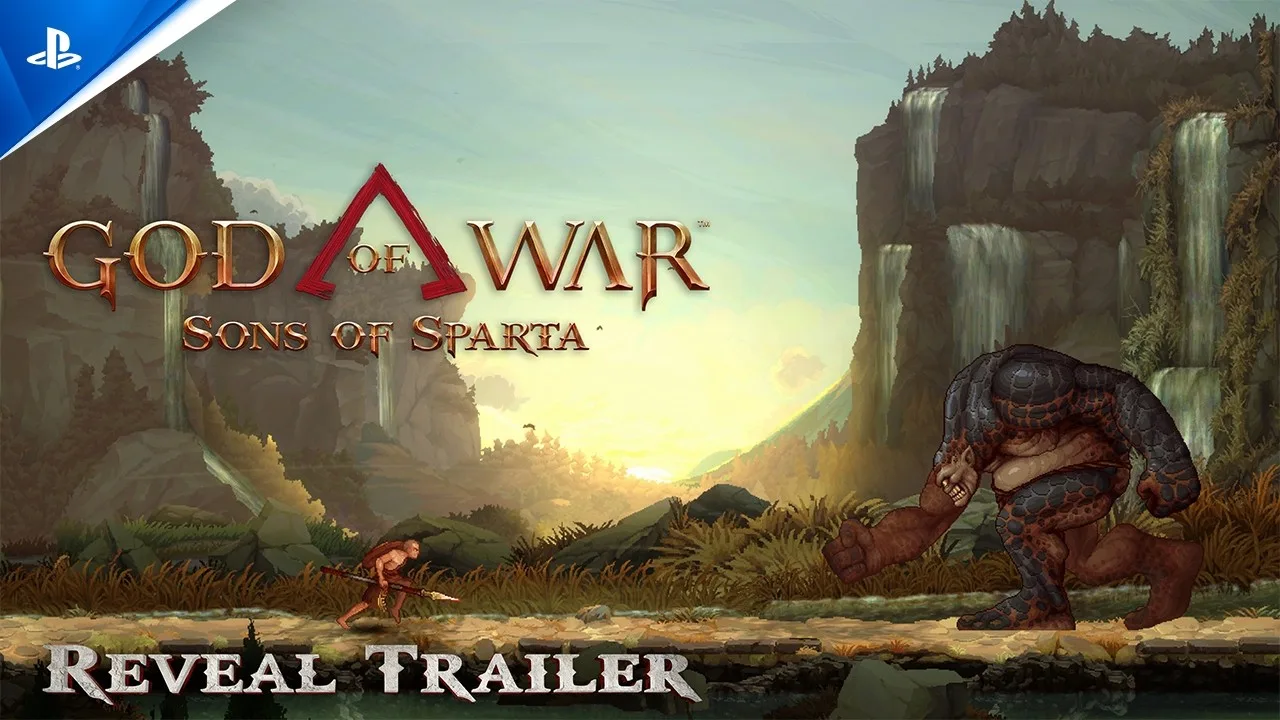
A spear, a shield, and a side-scrolling battlefield change how Kratos fights. God of War Sons of Sparta gameplay combines 2D action, environmental puzzles, and exploration that opens up as you gain new abilities. Learning how those systems connect helps you survive encounters and recognize which blocked paths deserve a return trip.
Developed by Mega Cat Studios in partnership with Santa Monica Studio, this prequel follows young Kratos and his brother Deimos during their Spartan training. Their search for a missing cadet takes them beyond Sparta into monster-filled territory, temples, and optional challenges.
The campaign uses a Metroidvania structure: you encounter obstacles before you have the tools to overcome them. Combat upgrades, divine gifts, and equipment expand your options, while returning to earlier areas gives those abilities another purpose.
Official page: God of War Sons of Sparta (playstation.com)
Learn Attack Cues Before Extending Combos
Kratos fights with a spear and shield, supported by magic tools and spirit abilities. His equipment can change attack sequences, add moves, and alter defensive behavior.
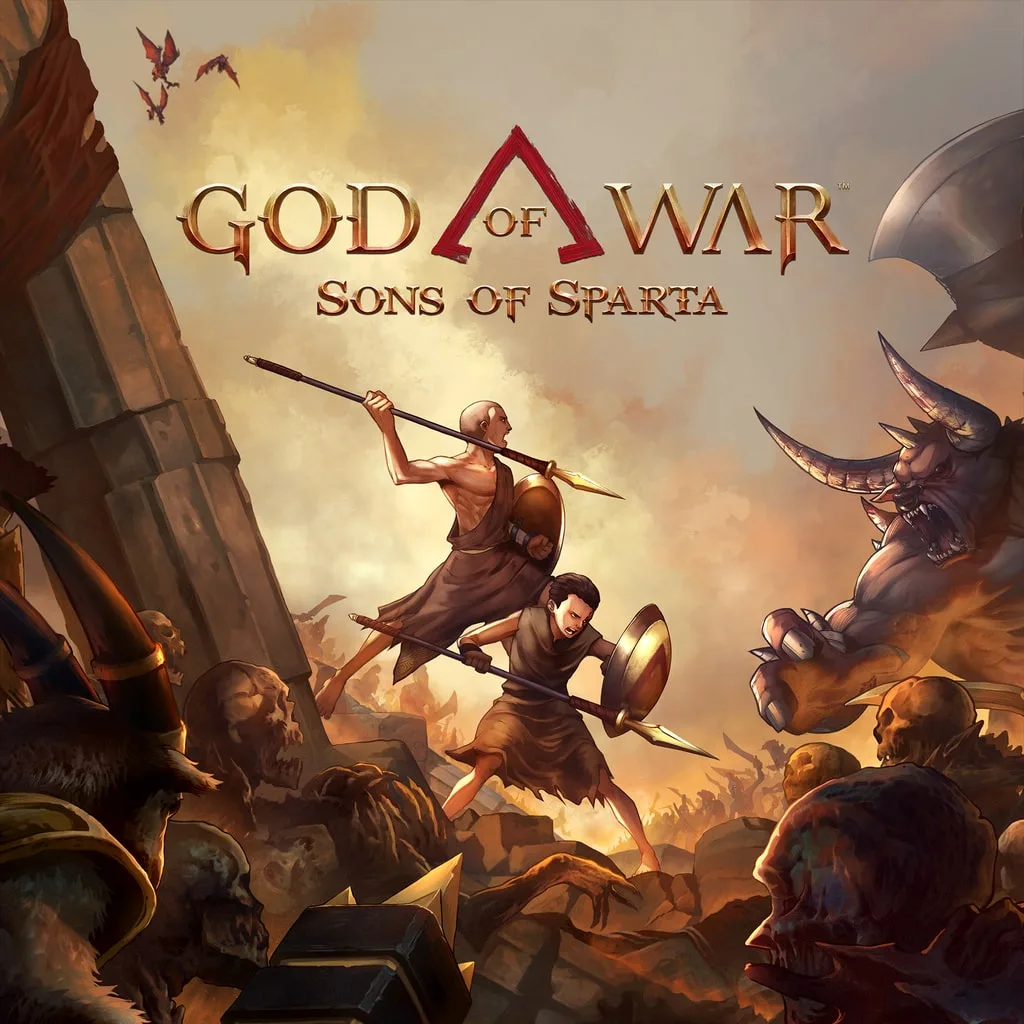 Image: PlayStation
Start by distinguishing attacks you can counter from attacks that demand repositioning:
- Pulsing yellow attacks break your block. Parry them or move out of their path.
- Purple attacks cannot be blocked, parried, or evaded. Get clear of their attack area.
- Enemy support effects change target priority. Sirens can heal or enrage nearby enemies, making an otherwise manageable group harder to dismantle.
Eliminate a healing Siren before spending resources on the enemies it supports. Against unfamiliar opponents, watch the attack cue before committing to another spear sequence.
Make Room for Your Next Move
Some spear upgrades add finishing attacks to an existing sequence, including a rushing vertical slash. Others introduce separate moves, such as downward strikes or advancing attacks.
Practice a newly equipped move before depending on it in a crowded fight. An attack that carries you forward can close distance, but positioning still matters when another enemy is preparing a projectile.
Keep magic tools in mind when enemies become difficult to reach. Select the tool you intend to use before attacking—acquiring a tool does not automatically make it your active selection.
Build Around Equipped Perks
Equipment affects more than basic damage. Spear attachments, shields, and belt items can support elemental damage, defensive counters, resource recovery, or additional attacks.
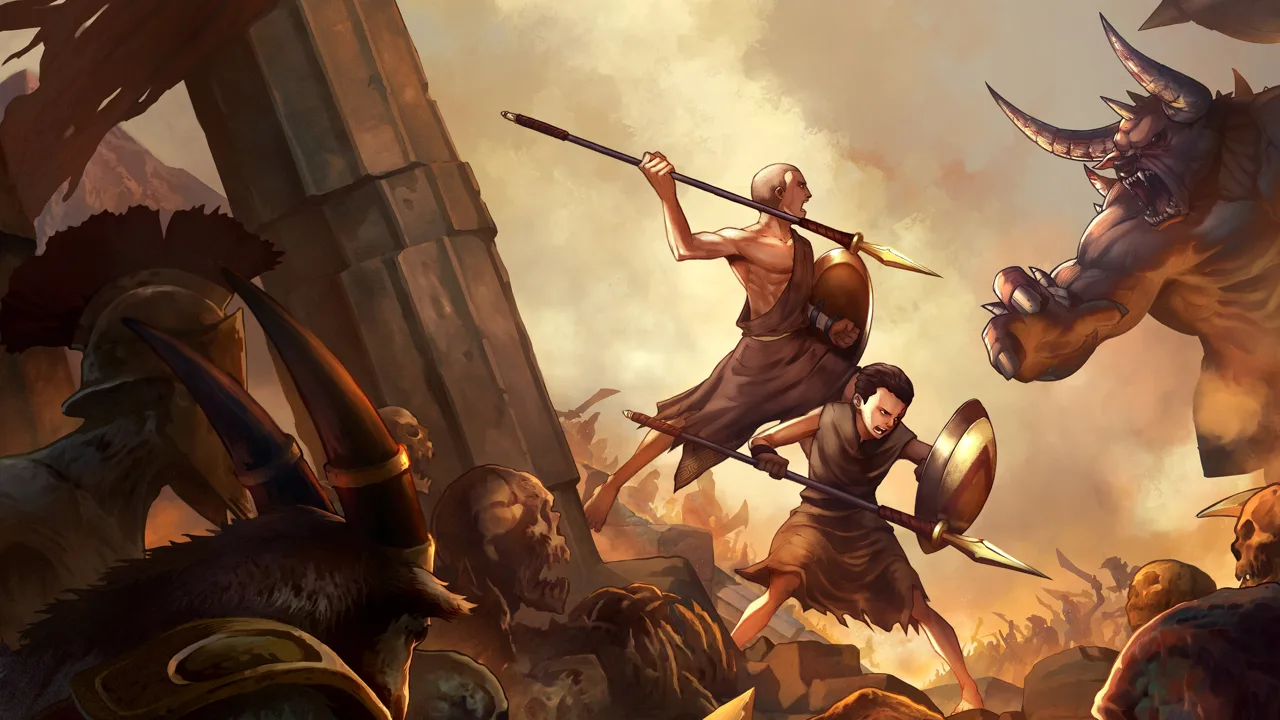 Image: PlayStation Store
Crafting becomes available through the witch on the island reached by boat outside the port. Her equipment options include strength increases, physical defense, elemental status damage, and effects triggered by enemy deaths.
Several perks offer clear ways to shape a loadout:
| Item | Effect |
|---|---|
| Totem of Vengeance | Gives defeated enemies a chance to release a vengeful soul |
| Stunning Screech | Gives a successful Spartan deflect a chance to instantly stun an enemy |
| Lucky Amber | Improves the luck multiplier for chance-related gear |
| Mark of the Slayer | Gives defeated enemies a chance to trigger a stunning explosion |
Pair Lucky Amber with chance-based effects when you have room to equip both. For a deflect-focused setup, practice the counter timing before relying on Stunning Screech to control a group.
Belt space limits which effects you can use together. Inspect the equipped items after making a change, especially when replacing defense with damage or resource bonuses. Owning an item and benefiting from it are separate steps.
Upgrade attacks you already use regularly. If a particular thrust keeps appearing in your combat routine, strengthening it gives that familiar move a clearer role in your build.
Explore in Passes as New Abilities Open Routes
An unreachable ledge does not always hide a tricky jump. Some routes require an ability you acquire later, while environmental obstacles can respond to specific tools or conditions.
Crystals that react to sunlight are one example: the solution involves the environment rather than simply hitting the obstruction harder.
Use this exploration routine:
- Inspect the obstacle. Look for a visual clue, nearby mechanism, or character dialogue.
- Try the relevant ability. Test fire against something that appears burnable or inspect how light reaches a crystal.
- Move on when your current tools do not work. Keep the location in mind for a later visit.
- Return after gaining a traversal ability. Revisit earlier branches with the new movement option.
Use Nike’s Sandals for Faster Traversal
Nike’s sandals improve movement speed and traversal. On PS5, hold R1 to sprint after receiving them; sprinting also supports an extended leap.
Revisit long gaps after obtaining the sandals. Avoid assuming they solve every climbing obstacle, though: gaining faster movement does not make every previously inaccessible wall immediately usable.
Optional routes also lead to gear, crafting materials, and challenges. A boat outside the port takes the brothers to an island, giving exploration a practical reward beyond another chest.
Manage Healing, Saves, and Blood Orbs
Camps provide places to save and learn skills. Save before heading into an unfamiliar stretch, particularly when your health is already low.
The healing vessel adds another resource to manage once you obtain it. Hold its assigned input to drink and restore health, then release it to stop drinking. When your health meter is full, excess health orbs refill the vessel.
That creates a useful sequence: heal when needed, then collect subsequent health orbs to rebuild your reserve once your health is full.
Do not choose a maximum-health increase expecting an immediate refill. Raising the size of the meter and restoring the health inside it are different effects.
Blood Orbs also support skill purchases and upgrades. Before spending, compare the cost with the move you actually want to learn. A cheap skill still uses currency you could put toward an attack or defensive option that fits your current equipment.
Sacred olive fruit provides another route to improving maximum health through a temple offering. Complete the combat encounter guarding an olive tree, collect its fruit, and bring it to the corresponding temple.
Survive the Pit of Agonies
The Pit of Agonies shifts the focus toward repeated combat runs. You begin without your campaign equipment loadout and assemble attacks, tools, and perks through rewards along the way.
Choose rewards around what the run currently lacks. A magic tool alone does not give you every upgraded attack associated with it, and limited belt slots force decisions between damage, defense, and utility.
Agonies add specific pressures:
| Agony | Effect |
|---|---|
| Calamity | Enemies explode when they die |
| Misery | Increases magic usage costs |
| Dread | Weakens spear damage |
| Despair | Prevents spirit orbs from appearing and increases spirit usage costs |
| Terror | Gives certain enemies unstable magic or spirit armor that cycles between types |
With Calamity active, leave space around dying enemies. Finishers do not prevent their death explosions, so prepare to move after the finishing animation.
When choosing between offensive and defensive rewards, account for the active Agony. Avoid sacrificing defense automatically for more damage, especially when explosions or overlapping projectiles are already draining your health.
Budget for Side Challenges
Successive side-challenge gates cost 500, 1,000, and 2,000 Blood Orbs. Reserve enough currency before shopping if you intend to enter them.
The challenges vary. They include destroying crates within 30 seconds, defending a wall from projectiles for 30 seconds, and revealing a mural before time expires. Read the objective immediately rather than treating every room as another enemy-clear encounter.
Spend Permanent Progression Currency Deliberately
Completed runs award Symbols of Suffering, which help unlock additional Agonies. Ashes of Agony pay for permanent upgrades through Graces.
Generous Bounty increases Ashes of Agony gains, while Hard Bargain discounts Blood Pedestal costs. Choose Generous Bounty when your next goal is earning currency for more permanent upgrades; choose Hard Bargain when pedestal spending is the expense you want to reduce.
Continue with
 God of War Sons of Sparta How Long to Beat: All TimesCompare story, optional content, and full completion times in God of War Sons of Sparta, then plan your Platinum and cut down on backtracking.
More in Guide
God of War Sons of Sparta Beginner Guide: Start Strong
Use this God of War Sons of Sparta beginner guide to choose early skills, master parries, find collectibles, and spend Blood Orbs wisely on your journey.

God of War Sons of Sparta Easy Mode: Boy Difficulty
God of War Sons of Sparta easy mode is called Boy. Learn how the difficulty options compare, why bosses can still be tough, and how to prepare for fights.
God of War Sons of Sparta Reddit: Co-Op and Editions
God of War Sons of Sparta reddit searches made simple: see how co-op works, unlock the Pit of Agonies, compare editions, and avoid outdated launch advice.
Continue exploring
Join the community
Official channels for news, updates and player help: